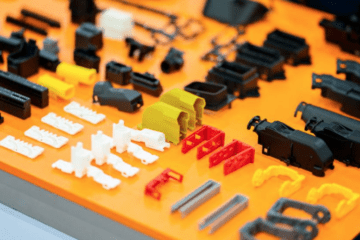
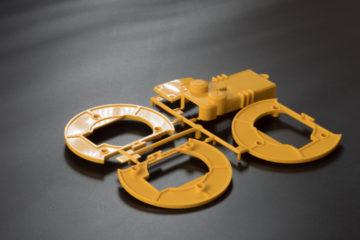
The basic concept behind rapid Tool Design for injection moulding has remained unchanged for the past 20 years. However, it is important to understand this basic concept to ensure success with injection moulding. This article will outline the four steps to success in rapid injection moulding product design.
These four steps are:
- Uniform Wall Thickness
- Know About the Resins You Plan to Use
- Have Appropriate Draft
- Understand the Prototype Mould Manufacturing Process
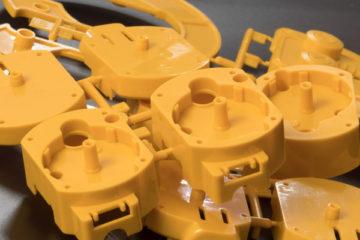
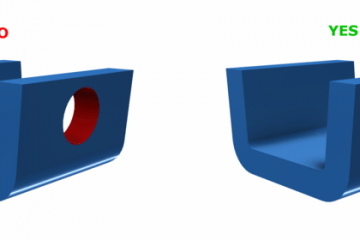
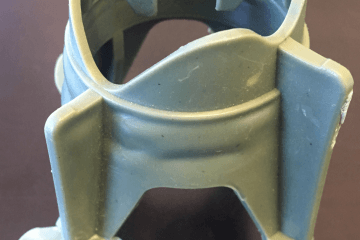
Step 1: Uniform Wall Thickness
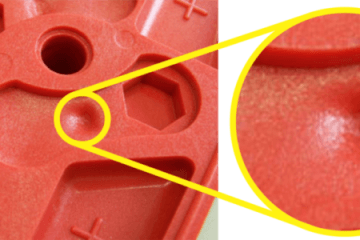
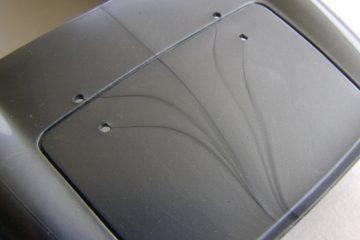
The key to avoiding problems in the initial stages of injection moulding is to maintain a uniform wall thickness. The optimum wall thickness will depend on the basic purpose and the type of resin utilized. Uneven walls can result in incomplete filling inside the mould, depending on gate placement. Another problem occurs when the plastic flows along a thin and thick wall section. The plastic is pressurized, and therefore is always seeking the path of least resistance. Thicker wall sections allow the plastic to fill quickly, and thinner wall sections slow down the filling. When these sections are side by side, you may get short or incomplete shots.
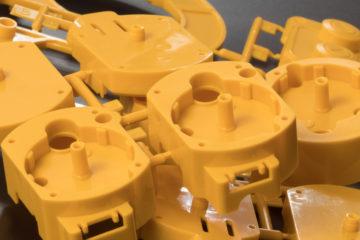
Also, resin tends to shrink as soon as it is cooled. This may result in shrinkage around the thicker areas, which will be noticeable when compared to the thin sections. All this shrinkage will result in a warped final piece.
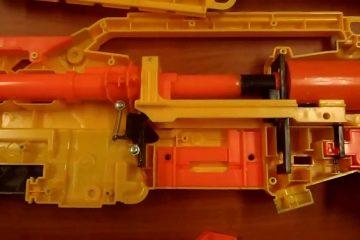
Step 2: Know About the Resins You Plan to Use
It is very important to know about the resins you plan to use. The basic characteristics of different resins are so varied and numerous that they cannot be discussed here in detail. Be sure you know what properties you’re after and if you can, provide measurable values rather than adjectives. Stating the difference between the part being “Strong” and the part having the ability to a 100kg load on a surface for 3 hours, could save hundreds of dollars in design, prototyping and testing costs.
Another method to resin selection is to match what’s already been done. Bring in a sample of a part you want to copy, and we will match it as best as we can. Some plastics shrink more than others, some are inherently stronger under certain loads. Be prepared and have a list of factors or criteria you want to meet. This will greatly speed any decision about resin selection.
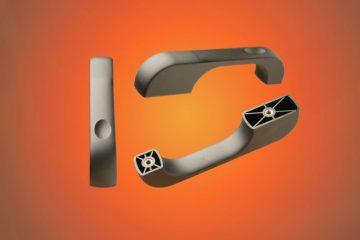
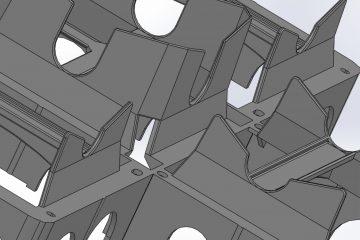
Step 3: Have Appropriate Draft
An undrafted surface can result in your final product being damaged. The concept is quite simple: an undrafted surface will snag onto your final product as it slides out of the draft. This snagging will rub and tear the resin, ruining countless hours of challenging work on your part.
Having an appropriately slanted draft is crucial to any project, especially when the resin surface is parallel to the direction of the mould opening.
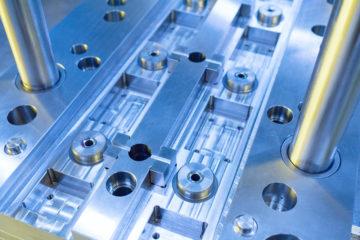
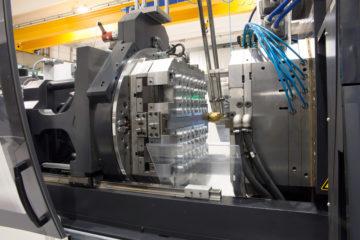
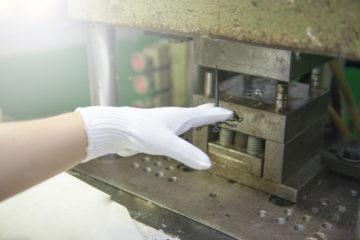
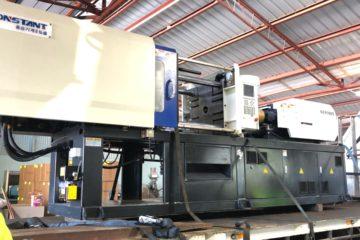
Step 4: Understand the Prototype Mould manufacturing process
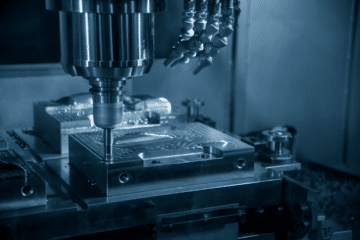
The prototype mould is manufactured just like any other injection mould. The only difference is that most prototype moulds are made of lesser materials that may wear or need repairs often. Prototype Tools are often rough and ready, designed to last the number of shots required. The benefit is that they can be built in weeks and not months.
With these four steps, you should have a better understanding of how rapid injection moulding design works. If you’d like to know more about plastic injection moulds and the processes behind them, get in touch with us here.
Subscribe to Our Newsletter
Get the latest news from Dienamics into your inbox