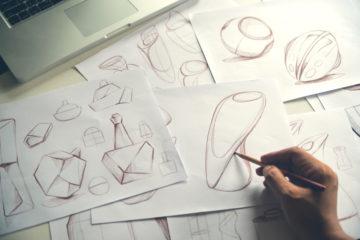
We’ve previously mentioned the importance of wall sections in our article about Ribs in Injection Moulding so in this article we’re going to go greater depths with that subject. We’ll talk about the basic process of injection moulding and how it relates to wall thickness, then outline some of the problems that may occur due to incorrect wall sections. Finally, we will talk about some common ways to avoid wall section problems
Basic Process
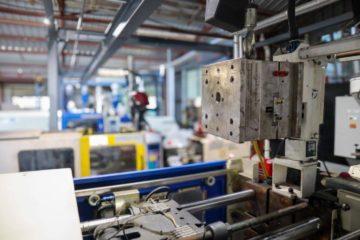
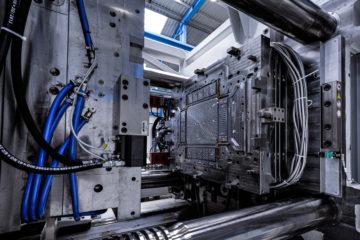
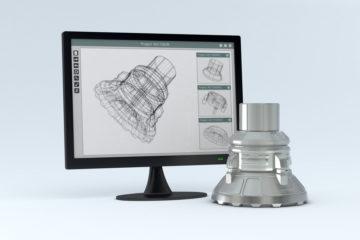
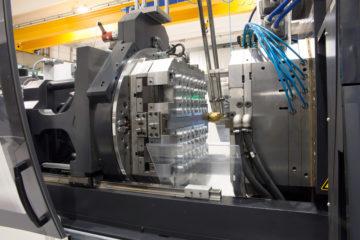
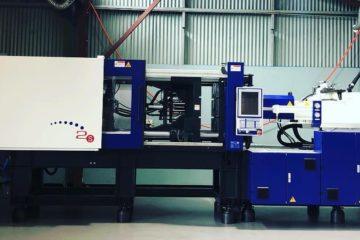
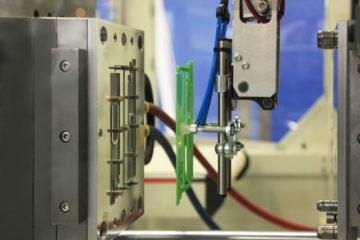
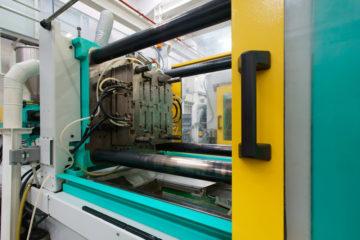
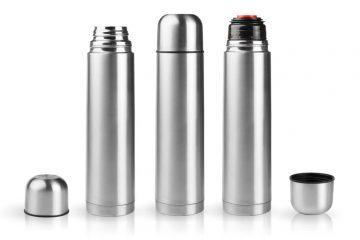
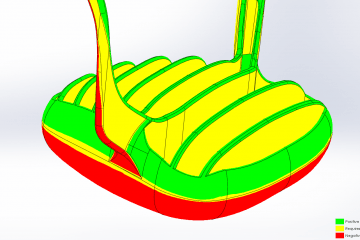
Injection Moulding is basically melting down plastic pellets and then injecting that molten plastic into a steel tool called a mould. The important thing to note is that pressurised molten plastic will take the path of least resistance. So if you have a thick wall section and a thin wall section, the plastic will fill the thick section first. A general rule of injection moulding is to have one standard wall thickness (known as a uniform or nominal wall section) so that the plastic can flow through the mould without any problems. To prevent failures, you can do several things, but the first and foremost is to look at your product’s wall section and have a conversation about what the acceptable stress levels and expected life cycles are. Think of coffee lids, or plastic cups – incredibly thin wall sections of about 0.5mm – but then there are a single-use product and only have a lifespan of a few months. Most products have a 2mm to 4mm wall section and are durable even after years of being in the weather.
Problems associated with wall sections
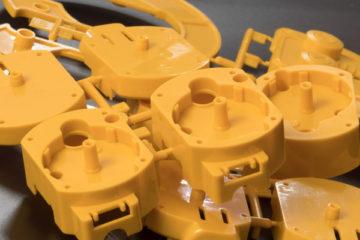
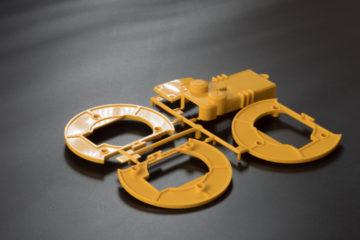
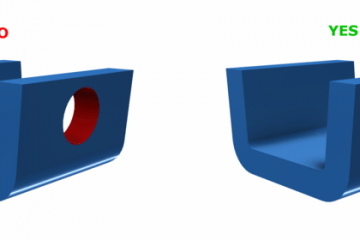
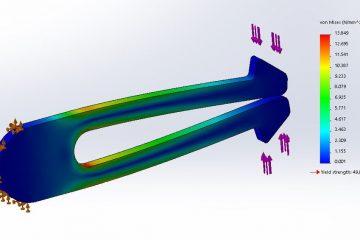
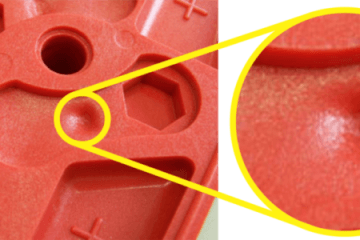
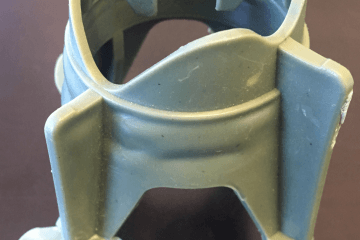
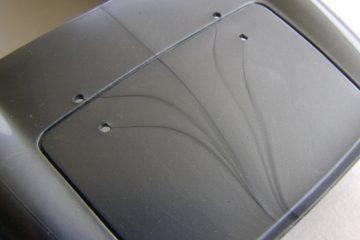
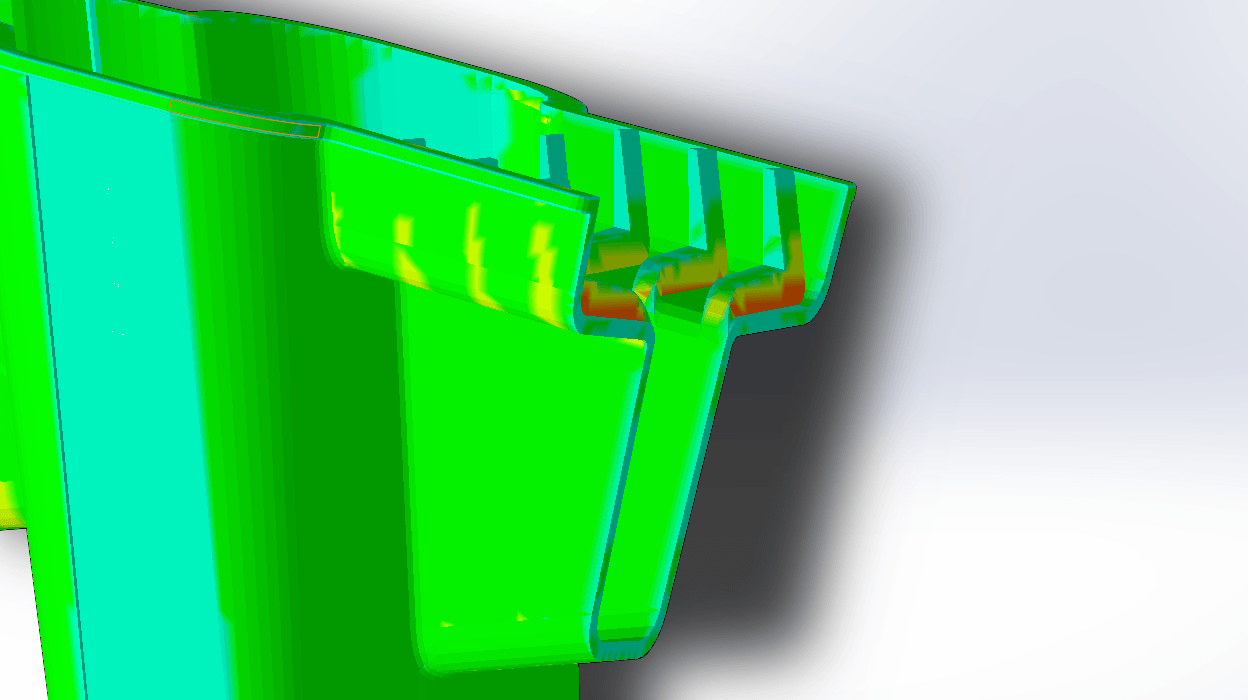
Some of the pitfalls associated with incorrect wall sections are air traps or bubbles in the mould, undesirable warpage or shrink marks, short shots and weld lines. Air traps are caused by the air inside the mould not being able to escape, forming little bubble shaped depressions in the extremities of your product. Warpage is a fact of life when it comes to plastic injection moulding, but there is good and bad warpage. Plastics are poor heat conductors, so when they cool, they cool drastically and shrink and warp. The goal is to achieve uniform shrinkage and to hide any excessive sink marks. Short shots are when the plastic doesn’t have sufficient material or pressure the shot of material may only fill part of the mould and leave the rest an open void. Weld lines are caused when two flow fronts of plastic meet and try to weld together. If the two fronts are drastically different temperatures, the plastic might not join properly at the molecular level, leaving behind a inherent stress point.
How to avoid problems
You can avoid these problems with four solutions, they are:
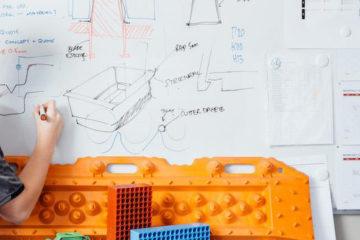
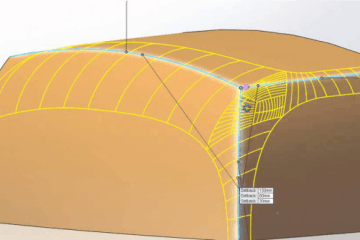
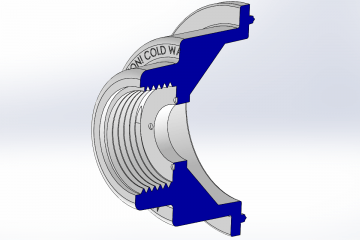
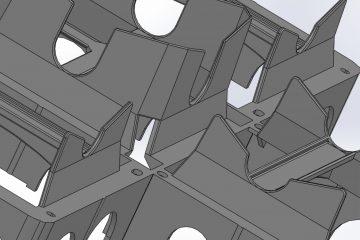
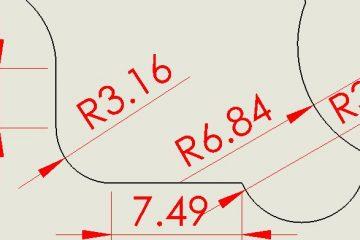
- Reduce the required pressure by increasing the wall section, reducing the flow length, change the material of your part and finally increase the injection pressure. If you go with increasing the nominal wall section, you might end up with a more expensive unit prices, but you will have a longer lasting, high quality product. If, however, you are restrained to a wall thickness, you can increase the wall thickness in just some areas. These are called Flow leaders, and they help the plastic flow evenly through the mould. If you ever do need to have a change in wall section, make it a gradual transition. The best practice is to have the length of the gradient to be 3 times the difference in height. If your wall section drops from 2mm to 1.5mm (a difference of 0.5mm) the gradient would be 1.5mm long. If you can’t afford to have a transition, at least put in gussets to prevent excessive warpage. Also, if you can place the gate in the thickest section of the part
- Change materials to a material with a lower molecular weight – reducing the effective viscosity. Lower viscosity will fill the mould easier.
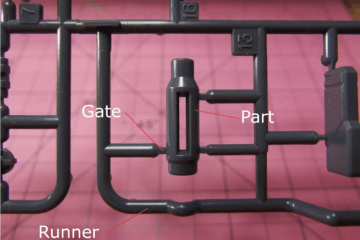
- Reduce the Flow length, which means reduce the length of the path that plastic has to flow along to fill. This can be achieved by moving gates or adding gates (gates are the entry points of plastic into the mould cavity.
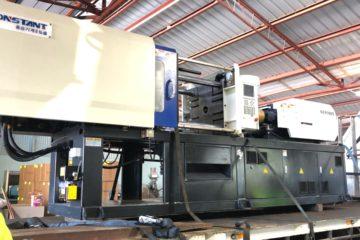
- Finally, and most expensively, increase the injection pressure. Usually this means using your tool on a large injection moulding machine. This will bump up your unit cots, with change in the final product, because it costs more to hire the larger moulding machines. Typically, Injection Pressures of Injection moulding machines are between 20,00 psi to 30,000 psi. Most products are shot at 50-75% pressure of machine capacity.
If you would like us to analyse your part for correct wall thickness, don’t hesitate to contact us!
Subscribe to Our Newsletter
Get the latest news from Dienamics into your inbox