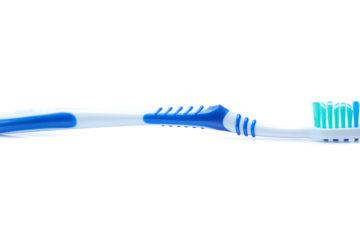
Whenever you brush your teeth, do you ever stop and wonder how your toothbrush came to be? Why is it that shape? Who chose that colour? A toothbrush may seem like a simple plastic object, but bringing it from concept to production can be a mind bending task.
FROM MIND TO MOULD TO MOLAR: THE MANUFACTURING PROCESS, VIA TOOTHBRUSH
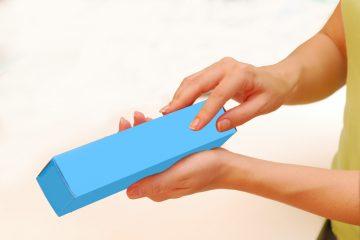
A long thin lump of plasticine and Styrofoam sits in his hands. He holds it up high, concentration in his eyes as he rotates it in the light..He opens wide and cautiously inserts one end into his mouth, gingerly moving it back and forth a hair’s breadth from his right molars.
Brow furrowed, he turns the object around in his fingers. Then he takes the whole thing out. His eyebrows raise; he nods rapidly in approval. It’s a simple little thing – but it captures what he’s looking for.
“Yeah. Yeah, I reckon that’s about right. Maybe make the handle a bit fatter?”
His name is Max Canine. He’s from dental hygiene product firm DenTech, and he’s just started on the journey to turn his idea for their next toothbrush into a reality. (He insists his name is a coincidence).
We find Max in the prototyping stage of the production of this new toothbrush. At this stage, the process is still in its infancy. Many iterations may be required to take the product to manufacturing, but it has passed its first hurdle in the real world…although there’s still months to go before it’s even close to finished.
All for one little toothbrush.
The Five Stages of Every Plastic Product
Design. Prototyping. Testing and Iteration. Tooling. Moulding.
Every plastic product or part you’ve ever held or used, no matter how trivial or essential, commonplace or world-beating, has gone through this process to get to you.
The Happy Meal toy your kid leaves around like an unintentional trap. The asthma puffer that might’ve saved your life more than once.
And, yes, your toothbrush.
Even the simplest stuff has seen a lot of love, time, and testing across a process full of little quirks and big failures. And like everything, all it takes to begin with is an idea.
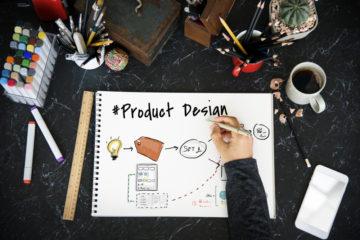
STAGE 1 – Design, or: I’ve Got a Killer Idea for Our Next Toothbrush
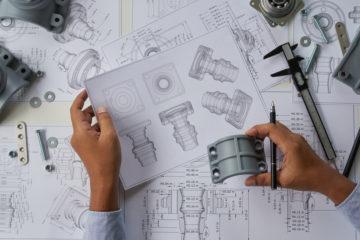
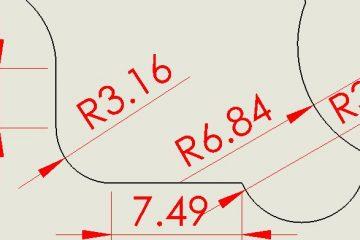
The first step in the creation of any new product is to engage a designer – someone who can eliminate variables, determine dimensions and materials, and make the right choices to turn your idea into a product.
The designer will begin by creating a design brief. This involves asking questions. Lots of them.
Questions like:
- What’s your budget?
- What are your production goals?
- Who’s the target market?
- What do you want this product to convey about your brand?
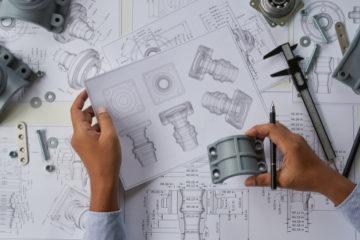
- Do you have any existing design work – sketches, concepts, CAD models, existing products to reverse engineer?
For us at Dienamics, these questions are as much about trying to learn about the product as they are about involving the client and most crucially, gaining their trust. Open communication and collaboration is the real key in getting a product to match your big idea.
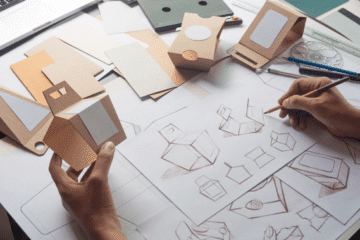
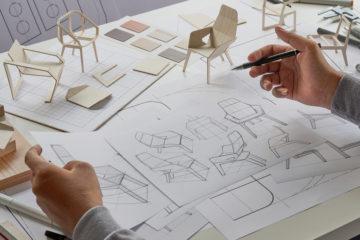
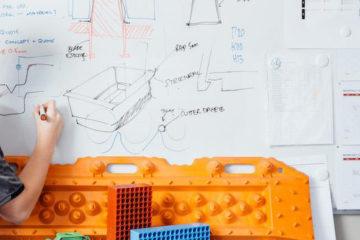
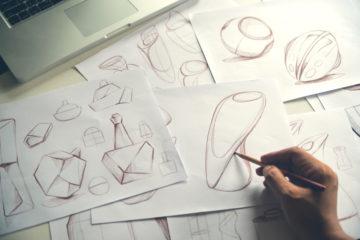
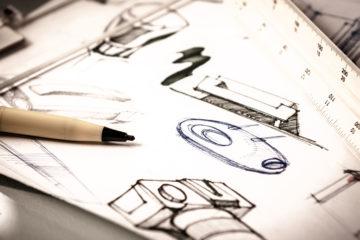
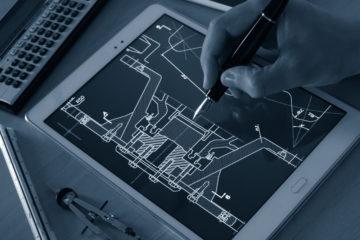
After a design brief is roughed out, we move on to concept drawings. These are used to get everyone on the same page – literally – and explore as many concepts as possible. The process is simple: sketch up a bunch of ideas, narrow down to the ones you like, expand on that section, narrow that, etc. Craziness is encouraged. (Yes, this process is as fun as it sounds!)
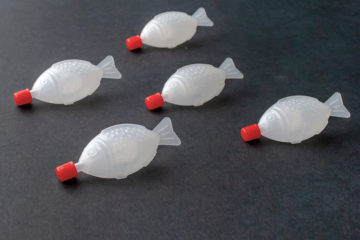
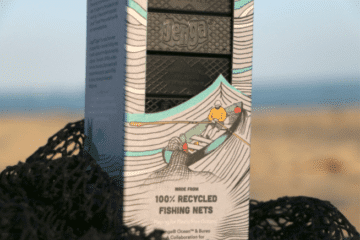
Max tells us that the new toothbrush is aimed to capitalise on a recent trend towards tongue-scrubbers. He wants one attached to the back of the toothbrush head – just a few little rubber ridges. He’s got a competitor’s example on hand to show us that we can reverse engineer.
We get sketching, and after a few iterations, we have one or two concepts that can be moved to prototyping. Time to reach for the plasticine and Styrofoam…
STAGES 2 & 3 – Prototyping and Testing, or: How I Learned to Stop Worrying and Love Failure
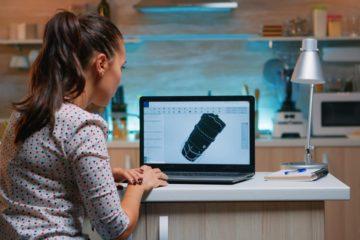
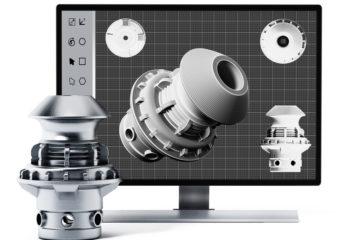
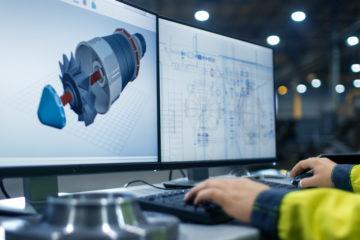
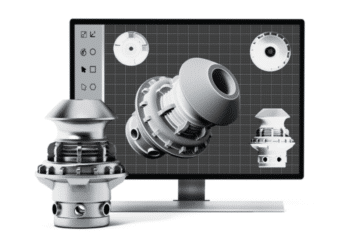
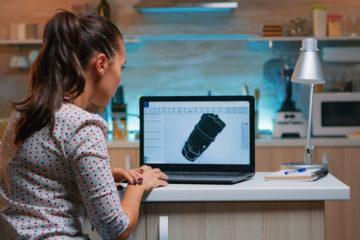
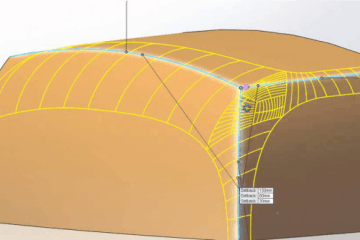
Prototyping is where the product is finally brought from page to plastic, so to speak. Even with Computer-Assisted Design (CAD), there’s only so much designing you can do before the only way to be sure is to hold a product and test it out. Besides – there’s nothing like holding in your hand something you were responsible for creating!
When we first came in on Max, he was in the process of a very basic kind of prototyping, where we might use crude materials just to get a feel for the direction the product should go.
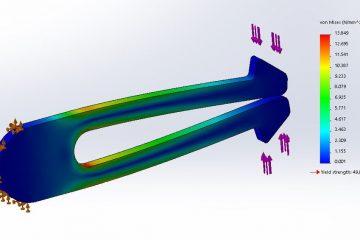
Prototyping and testing is all about one thing: failure, and lots of it. There’s just no better way to learn what could be improved about a design than to witness it fail and document the results. When we’re testing, we look for 6 key things.
- Form: Does the prototype look like its concepts? Often, things like bristles will be produced to look the part, but not necessarily act it just yet.
- Fit: If it is going to interact with anything, does it work? For a toothbrush, it will have to interact with a toothpaste dispenser, holders, travel bags, etc.
- Function: Can it actually do the things it needs to? Does it offer the advantages you thought it would? For example, can you actually brush your teeth with it?
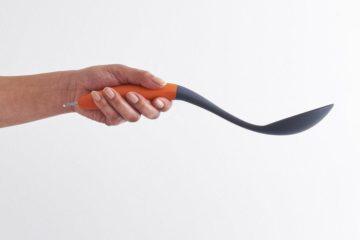
- Feel: Is it enjoyable to hold and use?
- Ergonomics: Are these correct for intended users? For example, is the handle too fat?
- Aesthetics: Do people love the way it looks? Does it project the message the client wanted it to? Does this nail the DenTech brand?
Guided by these six criteria, we identify issues, map out all the possible solutions, and then test and use our experience to pick the best performers. We then have the client apply their knowledge, we update the design accordingly, and begin the prototyping cycle anew.
Once everyone is agreed that the product design meets its goals, its time to validate. This is a final prototype designed to mimic the real product as closely as possible. It will be made from the same material, with the same finishes and details. It will look, fold, clip, bend and break just like the final product would.
This stage has 2 purposes. Firstly it will give Max something to sell, both within Dentech and to the market at large. His boss will finally understand the vision Max has held in his head for months, and the marketing department has something to wow distributors with.
Secondly, it’s insurance. The next stage of the process can involve significant outlays. By prototyping to this level of detail we make absolutely sure all Dentech’s future investments will be returned to them, not eaten up by rework and delays caused by unforeseen problems.
Once Max has wowed his boss, we can enter the first stage of production…
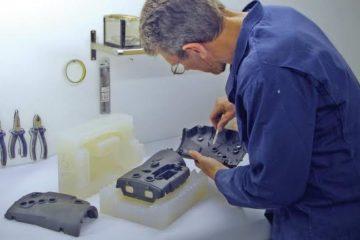
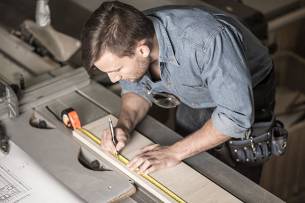
STAGE 4 – Tooling, or: Making the Thing That Makes the Thing
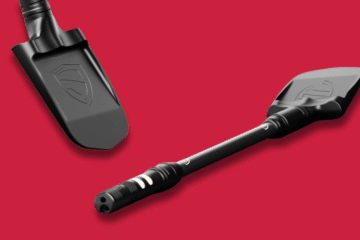
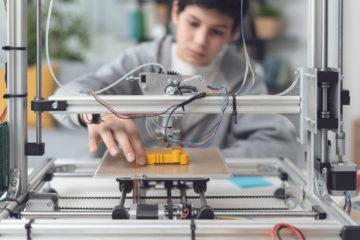
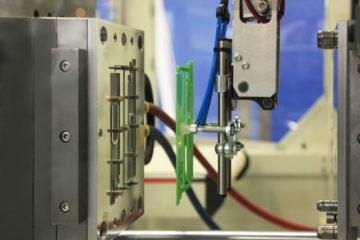
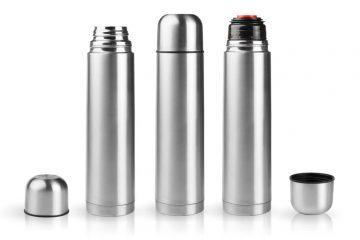
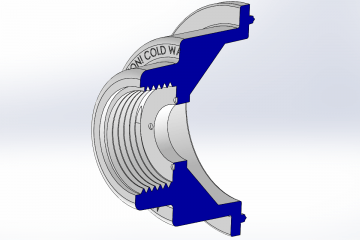
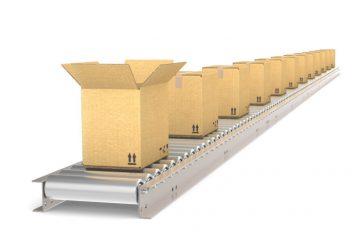
Max’s toothbrush will be created through injection moulding, one of the most efficient mass production technologies devised by man. Chances are there’s a dozen injection moulded products within arm’s reach of you right now.
That’s because injection moulding is all about repeatability. Once the design has been locked down, all that time and effort can be reproduced a million times over.
But this power does not come for free. An injection moulding tool will need to be created – a precision machine which can have a significant cost. The payoff? That one tool can make millions of toothbrushes, all as alike as peas in a pod, and each individual part may only cost a few cents.
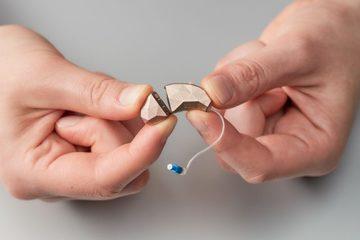
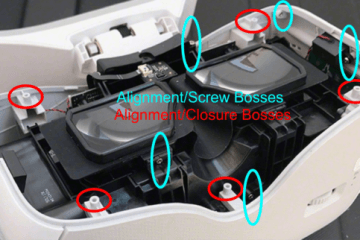
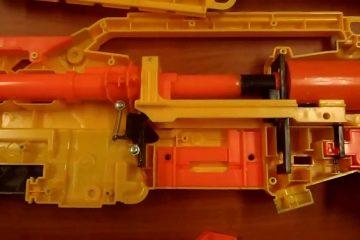
More features means more complex tools, such as rotating core or slide within a tool, or even multiple processes with multiple tools. For example, bristles would be created by over-moulding, where the brush would be fused to the bristles by moulding the blank body around them.
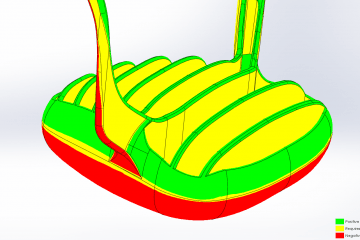
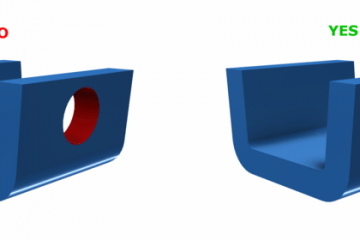
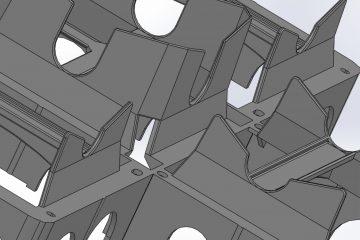
It can sometimes be a costly process, depending on design complexity and desired part cost. However, we design products with the tooling process in mind. Each little bump and cut out in your product will have been placed with the final tool in mind, leveraging our experience and skill to keep the tools costs down and your parts quality up.
After a little while, all the tools Max needs have been created. His product is ready to move into the final stage…
STAGE 5 – Manufacturing, or: Fresh from the Moulding Machine to Your Mouth
Following months of work, failures, and redesigns, Max’s toothbrush is ready to be produced.
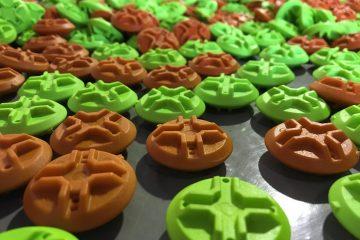
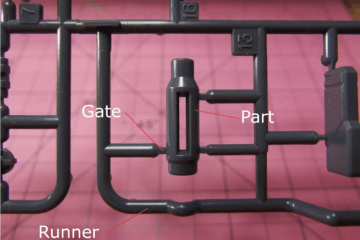
The finished tool is mounted to a moulding machine and parts are run.
This is where every feature is finally brought together: bristles, glossy surfaces, rubber…all the bells and whistles (sometimes literally).
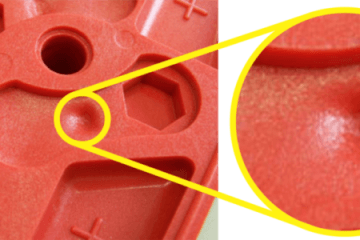
But the failures aren’t over just yet. There’s often an adjustment period where the first parts must be examined and minor modifications made; parts may not eject smoothly, for example, or colours may need adjustment.
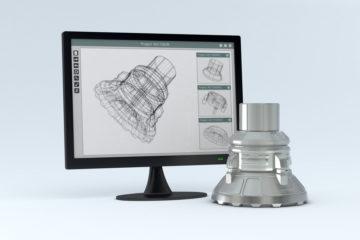
It’s very helpful at this stage to have ready access to the design data so you can make adjustments or refer to it as needed. At Dienamics, the same designer who created your part will handle drawing the tool. The entire body of knowledge built up during the design stays with the project. When the parts start to roll out of the machine, we know exactly how it’s supposed to look and function. You don’t run the risk of getting an entire order of parts sent to you that just don’t quite measure up.
That said, some errors have nothing to do with the parts design. Environmental factors like temperature and humidity can cause faults in moulding, for example – and sometimes, materials just aren’t always of uniform quality.
Ultimately, consistently high quality is simply a matter of experience. A moulder with the know-how to control the process and adhere to stringent QA processes will be able to get a good product.
All That…Just to End Up on the Shelf
Wonder in his eyes, Max holds with glee the first pressing of his new toothbrush.
“I love this.”
It took him seven months of talking, testing, selecting, and collaborating, but soon, Max will be walking past DenTech’s latest tongue-scrubber toothbrush at his local Coles.
Max isn’t real, of course. You won’t be able to walk past his product. It doesn’t exist.
But maybe the next time you find yourself in the dental hygiene aisle – or next to the toys, drinking from a water bottle, typing on your keyboard – you’ll be able to understand all the pain, pleasure, and plasticine that went into making the products that are now a necessary part of your everyday life.
Subscribe to Our Newsletter
Get the latest news from Dienamics into your inbox