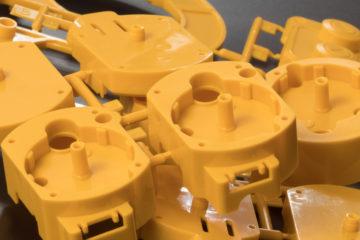
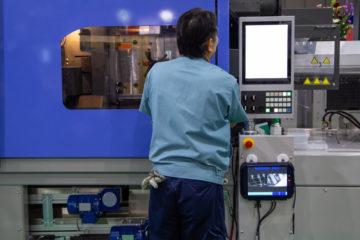
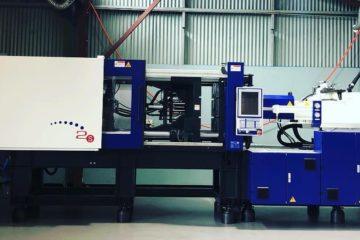
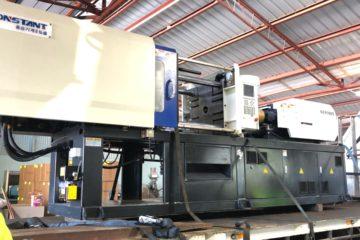
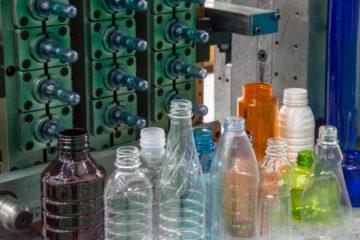
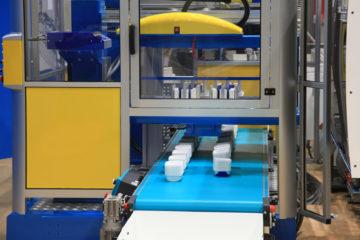
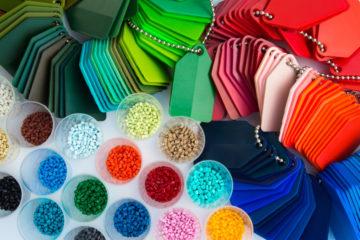
The concept of injection moulding is simple enough. First, the moulder fills the machine with plastic pellets. Then colorants are added to create the desired colour (we can do just about any colour by the way, even metallic hues). After that the plastic is heated up to its melting point, liquefying it. The molten plastic is then injected into the mould. After that the machine waits for the part to harden. Finally, mould splits open and ejects the part. Repeat thousands of times and the run is done. Simple enough, right?
Professionals love their jargon though. It makes us feel special. It also confuses what could often be an easy conversation. This article will cover some of the jargon associated with injection moulding, and hopefully allow you to shock the next old moulder who tries to confuse you with stories of how the stringers have bruised the inserts and now they are flashing.
Hopper
Hoppers are common to many industrial processing machines. It is just the feeding system that allows a continuous flow of plastic pellets to enter the machine. In injection moulding, plastic pellets are usually received in 25kg bags. The hopper (or hopper system) allows the operator to have possibly hundreds of kilo’s of plastic siting ready to flow into the machine. The hopper feeds plastic directly into the next stage of the machine, the barrel.
Barrel
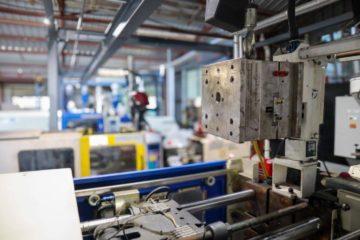
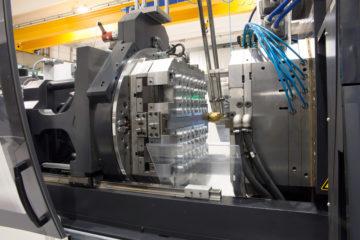
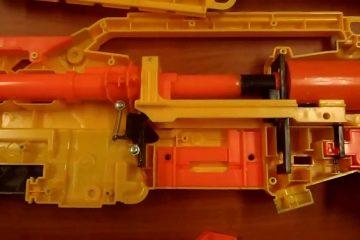
The barrel is the most important part of any injection moulding machine. In concept, it is a heated tube with a corkscrew inside it. The screw rotates, and drives the plastic towards the nozzle. It heats the plastic to it’s specific melting point and plunges the liquid plastic into the mould with incredible pressure.
Nozzle
This is the connection between the machine and the Die. It’s just like the nozzle on a garden hose, in that if it isn’t set up right liquid leaks everywhere.
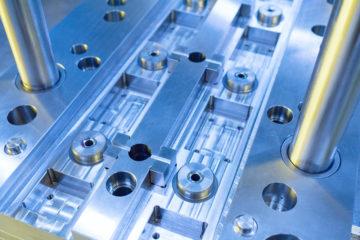
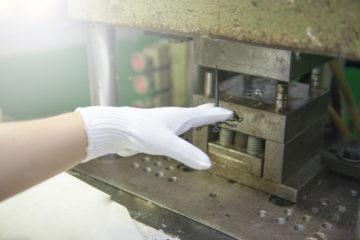
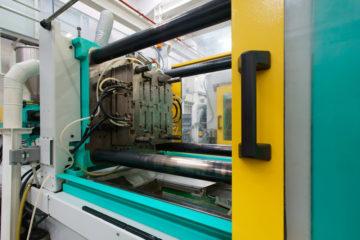
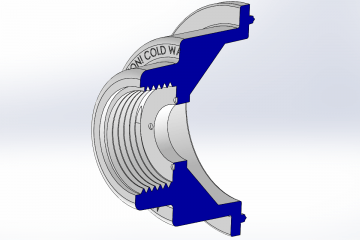
Die (Or Mould, or Tool)
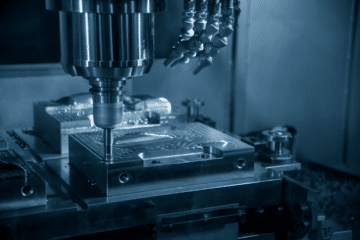
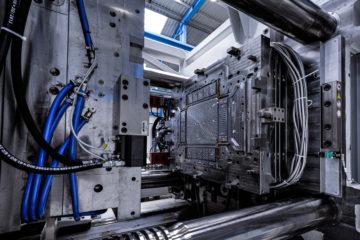
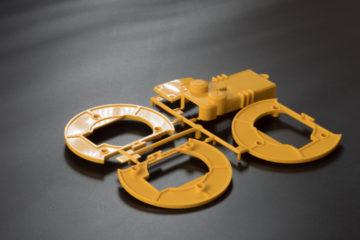
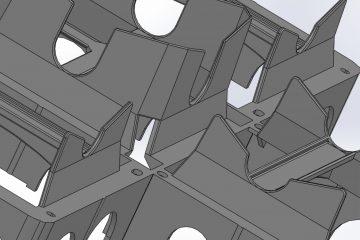
The die is the tool that’s needed to make any injection moulded part, and is usually made of hardened tool steel. Think of it as the steel negative of your products shape. It is a machine in its own right, made of two halve and possible other parts which slide together to form that negative, and then slide apart to let the newly moulded plastic part fall out so the process can repeat.
Fixed Half
This is the technical term for the half of the Die permanently bolted to the Injection moulding machines nozzle during your moulding run. The liquefied and pressurised plastic is injected through this half of the mould first.
Moving Half
This is the second half of your mould and houses the ejector system. After the plastic cools and solidifies this half will slide away from the fixed half and ejector pins will push your part out of the mould completely.
Cavity
This is the space the plastic fills up to form your part. The cavity is only fully formed when both halves of the die are pressed together, ready and waiting for this injection of plastic. It splits apart when the die opens, allowing your part to be ejected.
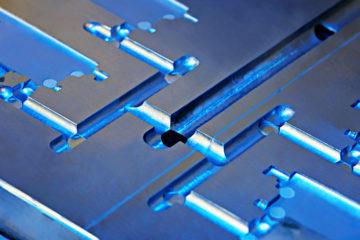
Sprue
Once the hot plastic is shot through the nozzle into the die, it will have to travel down a short passage in the die to get to the cavity. The last bit of plastic in this tube will freeze, leaving a stick of plastic attached to your part. This is called the sprue. Good mould designs detach this from your part cleanly and automatically, or use hot runner systems to prevent one from forming.
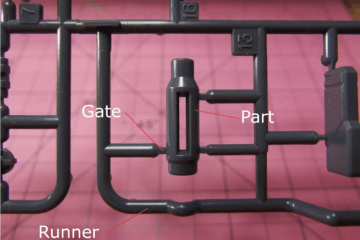
Runner
If the mould makes more than one part at a time there is a spot where the flow of plastic from the nozzle must be split to go tho the various cavities. The pathways that feed the cavities are called runners, and each part past the first will need at least one.
Gate
The gate is the place where the plastic enters the mould cavity. Its position and orientation can have a huge impact of how you parts looks and performs.
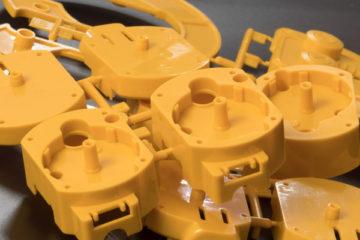
Shot
The amount of plastic needed to fill the mould. If the mould makes one part at a time, one shot = one part plus its sprue. If the mould has multiple cavities one shot is the plastic needed to fill each cavity, their runners and the sprue.
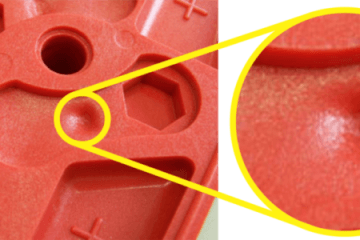
Ejection system
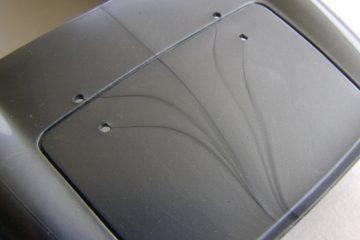
This is the automated “thing” that pushes your part out of the split die. The vast majority of the time this will be a series of small pins, which leave the round witness marks on products that are the telltale of injection moulding. However other systems can be used depending on the part geometry, such as stripper plates, slides and ramps.
Cycle Time
The time it takes to complete a full moulding cycle. That is Plastic injection, Freezing, Die Opening, Part ejection, and Die closing. You want this to be as short as possible so you can get the most parts per hour made as possible.
Freezing
A common, but non-technical, term for plastic cooling enough to solidify. This simple term covers a lot highly complex detail, as exactly when and how plastic sets inside the mould can determine everything from how quickly and cheaply your part is made to its physical strength to even if it will mould properly at all.
Stringers
Melted plastic is gooey, and just like bubble gum thin strings of it can stick to things and get all over the place. Unlike bubble gum, once those strings freeze they are quite hard and can get in the way of machines and even damage them.
Bruising
This is another non-technical term, and it basically means dents. If your die is bruised something has happened to it to bump it and leave a dent. If the dent is near the working parts of the mould , this might affect how it functions or how your final part looks.
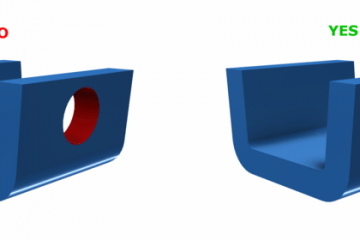
Inserts
Injection dies are built like Russian nesting dolls, with parts inside of parts inside of parts. The final and most important part is the insert, which is the hardened block of metal which has the actual shape of your part in it. In a cheap mould this shape will not be separate but just carved into the plates of the mould. Better toolmakers make this a separate and removable part so that it can be repaired or modified if needed. Some moulds have a series of nested inserts, allowing different version of a product to be made in the same mould by changing a few parts.
Benefits
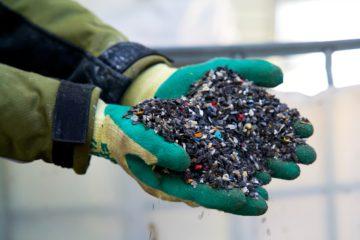
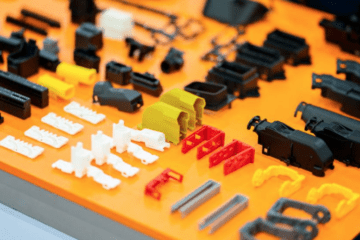
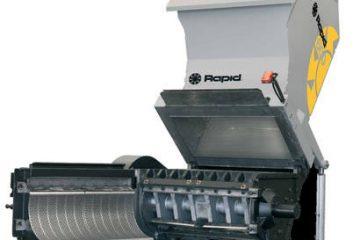
There are a wide range of benefits to injection moulding your part. Firstly, there is a huge variety of materials, from thermoset to thermoplastics, from cheap polystyrene to engineering grade glass filled nylon. Another huge benefit of injection moulding is the cost effectiveness of the process. With injection moulding you can make multiple at the same time. Injection Moulding is a low waste manufacturing process, with a lot of the plastic in runners and sprues being reground into plastic pellets and used in the next batch. Injection Moulding is extremely low labour, with only an initial setup by a moulder at the begin of each batch. Parts can be designed to be ready for use straight out of the machine, with no after processes needed.
If you’d like to know more about plastic injection moulds and the processes behind them, get in touch with us here.
Subscribe to Our Newsletter
Get the latest news from Dienamics into your inbox